Chapitre 8. Configuring Virtual Machines
Table des matières
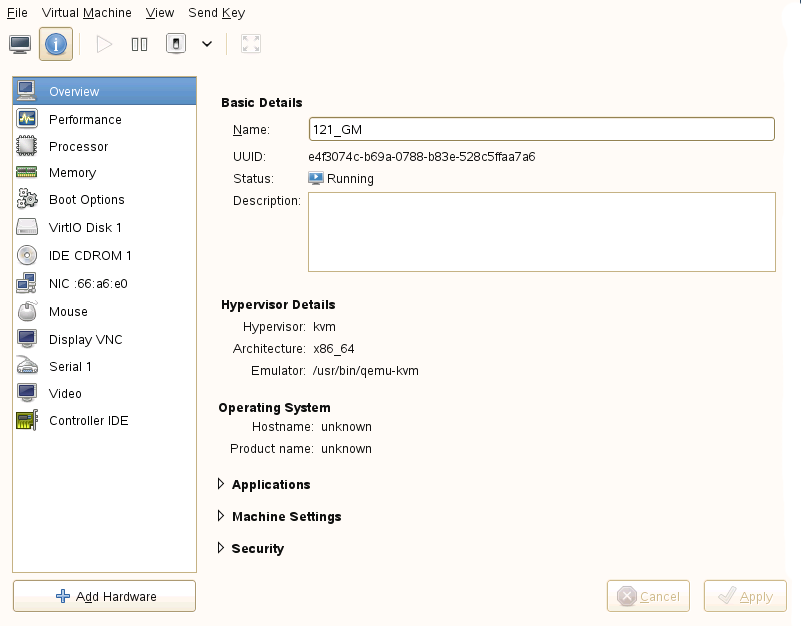
Virtual Machine Manager's view offers in-depth information about the VM Guest's complete configuration and hardware equipment. Using this view, you can also change the guest configuration or add and modify virtual hardware. To access this view, open the guests console in Virtual Machine Manager and either choose + from the menu, or click on the blue information icon in the toolbar.
8.1. Enabling Seamless and Synchronized Cursor Movement
When you click within a VM Guest's console with the mouse, the cursor is captured by the console window and cannot be used outside the console unless it is explicitly released (by pressing Alt+Ctrl ). To prevent the console from grabbing the key and to enable seamless cursor movement between host and guest instead, add a tablet to the VM Guest.
Adding a tablet has the additional advantage of synchronizing the cursor movement between VM Host Server and VM Guest when using a graphical environment on the guest. With no tablet configured on the guest, you will often see two cursor symbols with one dragging behind the other.
Double-click a VM Guest entry in the Virtual Machine Manager to open its console and switch to the view with +.
Click and choose and then in the pop-up window. Proceed with .
In case you tried to add the tablet while the guest was still running, you will be asked whether to enable the tablet after the next reboot. Confirm with .
Once you (re)start the VM Guest the tablet is available in the VM Guest.
8.2. Adding a CD/DVD-ROM Device with Virtual Machine Manager
KVM supports CD or DVD-ROMs in VM Guest either by directly accessing a physical drive on the VM Host Server or by accessing ISO images. To create an ISO image from an existing CD or DVD, use dd:
dd if=/dev/cd_dvd_device of=my_distro.iso bs=2048To add a CD/DVD-ROM device to your VM Guest proceed as follows:
Double-click a VM Guest entry in the Virtual Machine Manager to open its console and switch to the view with +.
Click and choose in the pop-up window. Proceed with .
Change the to .
Select .
To assign the device to a physical medium, enter the path to the VM Host Server's CD/DVD-ROM device (for example,
/dev/cdrom) next to the button. Alternatively you may use the button to open a file browser and then click to select the device. Assigning the device to a physical medium is only possible, when the Virtual Machine Manager was started on the VM Host Server.To assign the device to an existing image, click to choose an image from a storage pool. If the Virtual Machine Manager was started on the VM Host Server, you may alternatively choose an image from another location on the file system by clicking . Select an image and close the file browser with .
Proceed with to review the settings. Apply them with , , and .
Reboot the VM Guest to make the new device available. For further information also see Section 8.4, « Ejecting and Changing Floppy or CD/DVD-ROM Media with Virtual Machine Manager ».
8.3. Adding a Floppy Device with Virtual Machine Manager
Currently KVM only supports the use of floppy disk images—using a physical floppy drive is not supported. Create a floppy disk image from an existing floppy using dd:
dd if=/dev/fd0 of=/var/lib/libvirt/images/floppy.img
To create an empty floppy disk image use one of the following commands:
# raw image
dd if=/dev/zero of=/var/lib/libvirt/images/floppy.img bs=512 count=2880

# FAT formatted image
mkfs.msdos -C /var/lib/libvirt/images/floppy.img 1440
To add a floppy device to your VM Guest proceed as follows:
Double-click a VM Guest entry in the Virtual Machine Manager to open its console and switch to the view with +.
Click and choose in the pop-up window. Proceed with .
Change the to .
Choose and click to choose an existing image from a storage pool. If Virtual Machine Manager was started on the VM Host Server, you may alternatively choose an image from another location on the file system by clicking . Select an image and close the file browser with .
Proceed with to review the settings. Apply them with , , and .
Reboot the VM Guest to make the new device available. For further information also see Section 8.4, « Ejecting and Changing Floppy or CD/DVD-ROM Media with Virtual Machine Manager ».
8.4. Ejecting and Changing Floppy or CD/DVD-ROM Media with Virtual Machine Manager
Regardless whether you are using the VM Host Server's physical CD/DVD-ROM
device or an ISO/Floppy image: before you can change the media or image
of an existing device in the VM Guest, you first need to
disconnect the media from the guest.
Double-click a VM Guest entry in the Virtual Machine Manager to open its console and switch to the view with +.
Choose the Floppy or CD/DVD-ROM device and « eject » the media by clicking .
To « insert » a new media, click .
If using the VM Host Server's physical CD/DVD-ROM device, first change the media in the device (this may require to unmount it on the VM Host Server before it can be ejected). Then choose and select the device from the drop-down list.
If using an ISO image, choose and select an image by clicking . When connecting from a remote host, you may only choose images from existing storage pools.
Click to finish. The new media can now be accessed in the VM Guest.
8.5. Clock Settings
Keeping the correct time in a VM Guest is one of the more difficult aspects of virtualization. Keeping the correct time is especially important for network applications and is also a prerequisite to do a live migration of a VM Guest.
![[Tip]](style_images/tip.png) | Time Keeping on the VM Host Server |
|---|---|
It is strongly recommended to ensure the VM Host Server keeps the correct time as well, for example, by utilizing NTP (see Chapitre 15, Time Synchronization with NTP (↑Reference) for more information). | |
8.5.1. Using kvm_clock
KVM provides a para-virtualized clock which is currently supported by
openSUSE, SUSE Linux Enterprise Server 10 SP3 and newer and RedHat
Enterprise Linux 5.4 and newer via the kvm_clock
driver. It is strongly recommended to use
kvm_clock when available.
Use the following command inside a VM Guest running Linux to check
whether the driver kvm_clock has been loaded:
~ # dmesg | grep kvm-clock
[    0.000000] kvm-clock: cpu 0, msr 0:7d3a81, boot clock
[    0.000000] kvm-clock: cpu 0, msr 0:1206a81, primary cpu clock
[    0.012000] kvm-clock: cpu 1, msr 0:1306a81, secondary cpu clock
[    0.160082] Switching to clocksource kvm-clock
To check which clock source is currently used, run the following command
in the VM Guest. It should output kvm-clock:
cat /sys/devices/system/clocksource/clocksource0/current_clocksource
![[Important]](style_images/important.png) | kvm-clock and NTP |
|---|---|
When using | |
8.5.2. Other Time Keeping Methods
The para-virtualized kvm-clock is currently not
available for SUSE Linux Enterprise Server 9 and Windows operating systems. For Windows, use
the Windows Time Service Tools for time
synchronization (see
http://technet.microsoft.com/en-us/library/cc773263%28WS.10%29.aspx
for more information).
Correct time keeping in SUSE Linux Enterprise Server 9 SP4 can be achieved by using special boot parameters:
32-bit Kernel:clock=pmtmr
|
64-bit Kernel:ignore_lost_ticks
|