Chapitre 3. Creating A Control File
Table des matières
3.1. Collecting Information
In order to create the control file, you need to collect information about the systems your are going to install. This includes hardware data and network information among other things. Make sure you have the following information about the machines you want to install:
Hard disk types and sizes
Graphical interface and attached monitor, if any
Network interface and MAC address if known (for example, when using DHCP)
With these parameters you are ready to go and create a profile of your systems to control the auto-installation process.
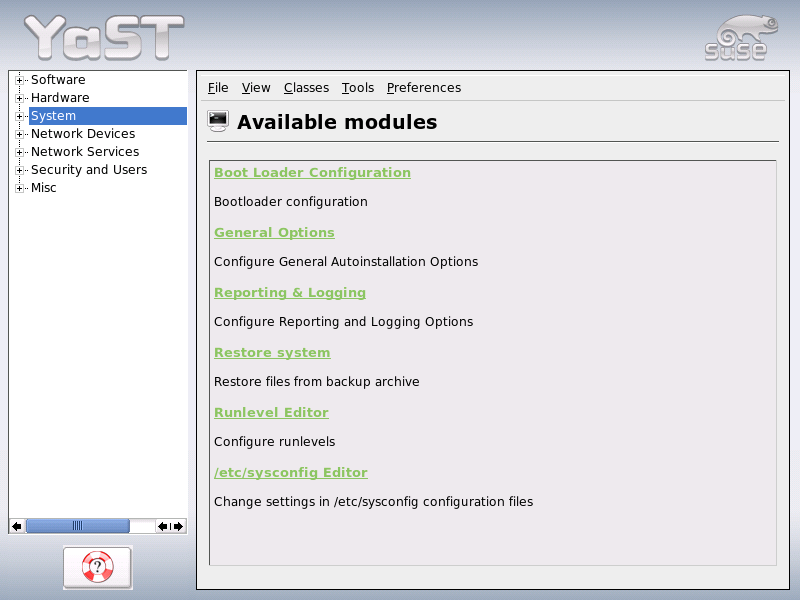
3.2. Using the Configuration Management System (CMS) 
In order to create the control file for one or more computers, a configuration interface based on YaST2 is provided. This system depends on existing modules which are usually used to configure a computer in regular operation mode, for example, after SUSE Linux is installed.
The configuration management system lets you create control files easily and lets you manage a repository of configurations for the use in a networked environment with multiple clients.
3.2.1. Creating a New Profile
With some exceptions, almost all resources of the control file can be configured using the configuration management system. The system offers flexibility and the configuration of some resources is identical to the one available in the YaST2 Control Center. In addition to the existing and familiar modules new interfaces were created for special and complex configurations, for example for partitioning, general options and software.
Furthermore, using a CMS guarantees the validity of the resulting control file and its direct use for starting automated installation.
Make sure the configuration system is installed (package autoyast2) and call it using the YaST2 Control Center or as root with the following command (make sure the DISPLAY variable is set correctly to start the graphical user interface instead of the text based one):
/sbin/yast2 autoyast
3.3. Creating/Editing a Control File Manually
If editing the control file manually, make sure it has a valid syntax. To check the syntax, use the tools already available on the distribution. For example, to verify that the file is well-formed, use the utility xmllint available with the libxml2 package:
xmllint <control file>
If the control file is not well formed, for example, if a tag is not closed, xmllint will report about the errors.
Before going on with the autoinstallation, fix any errors resulting from such checks. The autoinstallation process cannot be started with an invalid and not well-formed control file.
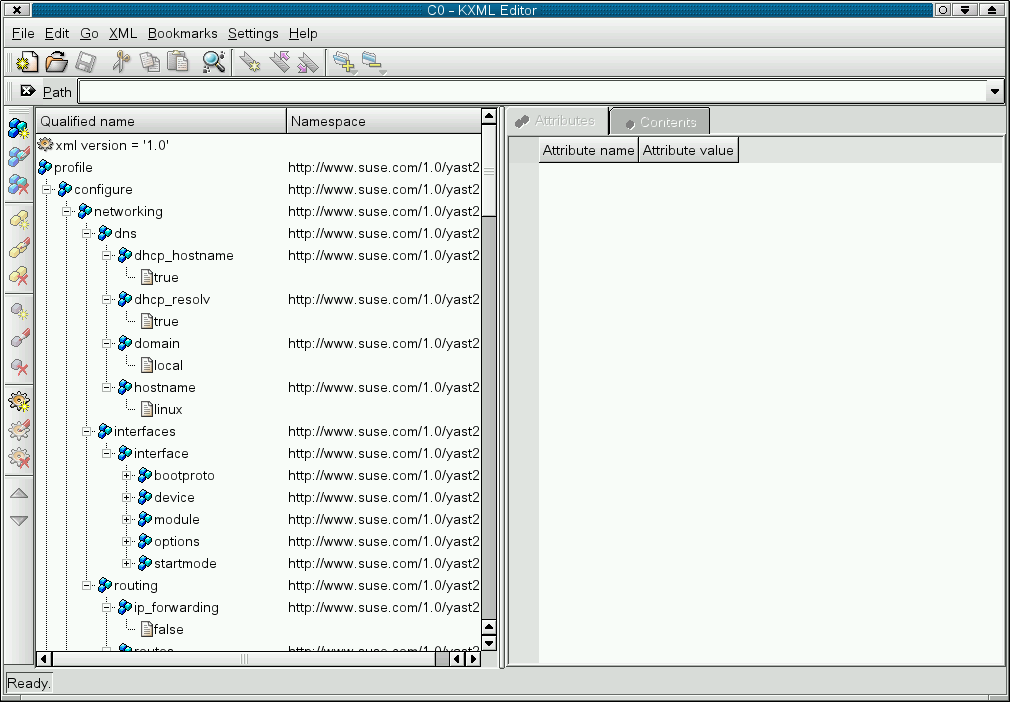
You can use any XML editor available on your system or your favorite text editor with XML support (for example, Emacs, Vim). However, it is not optimal to create the control file manually for a large number of machines and it should only be seen as an interface between the autoinstallation engine and the Configuration Management System (CMS).
3.4. Creating a Profile (Control File) via Script with XSLT
If you have a template and want to change a few things via script or command line, use an XSLT processor like sablot. For example, if you have an AutoYaST profile and want to fillout the hostname via script for any reason (if doing this so often, you want to script it)
First, create an XSL file
Exemple 3.1. Example file for replacing hostname/domain by script
<?xml version="1.0" encoding="utf-8"?>

<xsl:stylesheet xmlns:xsl="http://www.w3.org/1999/XSL/Transform"
  xmlns:y2="http://www.suse.com/1.0/yast2ns"
  xmlns:config="http://www.suse.com/1.0/configns"
  xmlns="http://www.suse.com/1.0/yast2ns"
  version="1.0">


  <xsl:output method="xml" encoding="UTF-8" indent="yes" omit-xml-declaration="no" cdata-section-elements="source"/>

  <!-- the parameter names -->
  <xsl:param name="hostname"/>
  <xsl:param name="domain"/>

  <xsl:template match="/">
    <xsl:apply-templates select="@*|node()"/>
  </xsl:template>

  <xsl:template match="y2:dns">
    <xsl:copy>
      <!-- where to copy the parameters -->
      <domain><xsl:value-of select="string($domain)"/></domain>
      <hostname><xsl:value-of select="string($hostname)"/></hostname>
      <xsl:apply-templates select="@*|node()"/>
    </xsl:copy>
  </xsl:template>


  <xsl:template match="@*|node()" >
    <xsl:copy>
      <xsl:apply-templates select="@*|node()"/>
    </xsl:copy>
  </xsl:template>

</xsl:stylesheet>
This file expects the "hostname" and the "domain" as parameters from the user.
<xsl:param name="hostname"/>
<xsl:param name="domain"/>
There will be a copy of those parameters in the dns section of the control file. That means, if there already is a domain element in the dns section, you will get a second one (no good).
If you want to create a new AutoYaST profile now from the template plus the XSL file, run the following command:
sabcmd add_hostname.xsl \$hostname=myHost \$domain=my.domain template.xml
You will get a filled out AutoYaST profile then on STDOUT.
If you have multiple XSL files you want to apply to a template, do the following:
sabcmd add_hd_vg.xsl \$device=/dev/sda \$partition=p2 \$vg=system \
        | sabcmd add_harddisk.xsl \$device=/dev/system \$lvm=true \
        | sabcmd ....
        | sabcmd add_hostname.xsl \$hostname=myHost \$domain=my.domain
Pipe the output of each sabcmd to the next sabcmd.
For more information about XSLT, go to the official Web page www.w3.org/TR/xslt